
Do you’re keen on journey a lot that you simply want you can make it a part of your on a regular basis life — possibly even flip it into your profession? That’s precisely what number of journey bloggers begin out. What begins as a ardour for exploring new locations can develop into one thing that not solely paperwork your adventures but additionally helps you construct a neighborhood and earn an earnings alongside the best way.
When we began our personal journey weblog, we didn’t have a clear plan. We have been couchsurfing in Chicago, writing about our experiences hitchhiking throughout the United States. We had no concept how to design a web site, didn’t know what a “niche” was, and have been figuring issues out as we went. But what we did have was a shared love for journey and storytelling. Over time, that zeal become one thing greater — a area that allowed us to join with different vacationers, share helpful suggestions, and ultimately earn an earnings doing what we love.
Starting a journey weblog might be one of the rewarding initiatives you’ll ever tackle. It’s not nearly posting fairly images or writing vacation spot guides — it’s about constructing a digital house on your tales, experiences, and recommendation.
Now, let’s be sincere — constructing a profitable journey weblog doesn’t occur in a single day. It takes time, consistency, and a few technique. But if you happen to’re keen to study and put in the hassle, it’s completely achievable.
This information will stroll you thru each step — from selecting your area of interest and organising your web site to rising your viewers and incomes your first greenback on-line. Think of it as your roadmap to beginning a worthwhile journey weblog, even if you happen to’re a full newbie proper now.
So, let’s dive in and get began. Your journey running a blog journey begins right here.
Step 1: Choose Your Travel Blog Niche
When we first began writing over ten years in the past, there weren’t many journey blogs on the market. You may write about the whole lot journey and nonetheless stand out. Back then, having a common journey weblog labored simply nice.
But issues have modified. Today, there are literally thousands of journey blogs competing for consideration, and readers (in addition to search engines like google) search for one thing particular. That’s why narrowing your focus and selecting a clear area of interest is so vital.
Your area of interest is just the essential theme of your weblog — the thread that ties all of your tales and recommendation collectively. It helps readers instantly perceive what your web site is about and why they need to comply with you.
Why Having a Niche Matters
- It builds belief and authority. When you constantly write about one space of journey, individuals begin seeing you as a go-to useful resource in that area.
- It makes content material creation simpler. With a targeted matter, your concepts will circulate extra naturally, and your posts will match collectively as an alternative of feeling random.
- It helps you develop quicker. A clear area of interest attracts the appropriate readers and helps you stand out to search engines like google, manufacturers, and potential companions.
How to Find Your Niche
You don’t want a excellent plan — simply a route that feels genuine and thrilling. Ask your self:
- What type of journey do you’re keen on most? (Budget, luxurious, journey, sluggish journey, and so on.)
- What makes your journey experiences distinctive? (Are you a couple, solo traveler, van lifer, digital nomad, or household on the highway?)
- Who would you like to assist or encourage? (First-time vacationers, distant employees, college students, retirees?)
- Can you see your self writing about this matter for no less than the following 12 months?
If you’re uncertain, don’t fear. Many journey bloggers begin broad and refine their focus as they go. What issues most is beginning — your area of interest will naturally evolve as your weblog grows.
Examples of Travel Blog Niches
Here are a few fashionable and worthwhile journey niches to contemplate:
- Budget journey – Tips and guides for exploring the world on a small finances.
- Adventure journey – Hiking, tenting, and out of doors exploration.
- Couples journey – Relationship-focused adventures and romantic getaways.
- Solo feminine journey – Empowering ladies to journey safely and independently.
- Digital nomad life – Working remotely whereas touring lengthy-time period.
- Van life / overlanding – Life on the highway in a van or transformed automobile.
- City or nation-particular blogs – Focusing on one vacation spot (for instance, “Exploring Japan” or “A Local’s Guide to New York”).
Choose a area of interest that feels true to who you’re and the way you journey. Passion is what is going to preserve you writing lengthy after the thrill of launching fades.
Step 2: Pick a Blog Name & Domain
Once you’ve chosen your area of interest, it’s time to give your weblog an identification — beginning with a identify. Your weblog identify is commonly the very first thing individuals see, so it ought to mirror who you’re, what you write about, and the type of journey you’re keen on.
When we have been brainstorming our identify, we crammed pages with concepts that ranged from intelligent to fully ridiculous. Eventually, we realized that the perfect names are normally the straightforward ones — simple to keep in mind, simple to spell, and significant to you.
What Makes a Good Blog Name
Here are a few issues to preserve in thoughts when selecting your identify:
- Keep it easy. Shorter names are simpler to keep in mind and kind. Avoid difficult phrases or lengthy phrases.
- Make it related. Choose a identify that provides individuals a sense of what your weblog is about. It doesn’t want to describe the whole lot you’ll ever write about, however it ought to join to your general journey model or viewers.
- Leave room to develop. You don’t need to field your self in. If you suppose you may department out in the long run, select a identify that’s versatile. For instance, “Backpacking the Balkans” could be very particular, whereas “Wander With Us” or “The Road Less Planned” may evolve with you.
- Check availability. Before getting too connected, be sure that your identify isn’t already taken as a area or social media deal with. It’s value having the identical or related identify throughout platforms for consistency.
How to Check Availability
- Domain identify: Use a area registrar like Namecheap to see if your required identify is out there.
- Social media handles: Check Instagram, Facebook, Pinterest, and TikTook to guarantee you may get the identical (or a shut) username.
- Trademark search: If you intend to flip your weblog into a enterprise, rapidly test that your identify isn’t trademarked in your nation.
Once you’ve discovered a identify that’s obtainable throughout all of the platforms you intend to use — and you’re keen on the way it sounds — you’re virtually prepared to make it official. Many internet hosting suppliers, together with Hostinger, which is the one we advocate, provide a free area while you enroll, so you’ll be able to register it in the course of the subsequent step.
However, if you happen to choose to preserve your area separate out of your internet hosting account — which many bloggers do for added flexibility and management — you’ll be able to go forward and register it now by Namecheap or your most popular registrar.

A Few Extra Tips
- .com is king. Whenever potential, select a .com handle — it’s essentially the most trusted and acknowledged area extension. Avoid options like .weblog, .co, or .journey, which may seem much less skilled and are simpler for readers to overlook. Country-specific domains (like .ca or .uk) are nice in case your weblog focuses on one area, however not supreme if you happen to plan to develop your protection later.
- Skip hyphens and numbers. They make your identify tougher to say and keep in mind.
- Say it out loud. Does it sound pure and simple to share? If it feels awkward or complicated, preserve brainstorming.
Step 3: Set Up Hosting
Now that you simply’ve chosen your weblog identify and area, it’s time to give your journey weblog a house on the web — that is the place internet hosting comes in.
Think of internet hosting as renting area on the internet. It’s the place all of your weblog’s information, images, and posts will reside so individuals can really go to your web site. Without internet hosting, your area identify is simply an handle with no home connected.
Choosing a Hosting Provider
There are dozens of internet hosting firms on the market, however for inexperienced persons, we advocate Hostinger. We’ve used a number of internet hosting companies through the years, and Hostinger strikes a nice stability between affordability, pace, and reliability — all essential for a new journey weblog.
Here’s what makes it a stable selection for inexperienced persons:
- Affordable pricing: You can get began for simply a few {dollars} a month.
- Free area identify: When you join most of their plans, you’ll get a free area on your first 12 months.
- Easy WordPress setup: Hostinger consists of a one-click on WordPress installer, which we’ll stroll by in the following step.
- Good assist: Their customer support is out there 24/7 if you happen to ever get caught.
Of course, there are different good choices — Bluehost, SiteGround, and HostGator are all popular web hosts — however if you would like one thing newbie-pleasant and dependable, Hostinger is a superb place to begin.
How to Set Up Your Hosting Account
Follow these steps to arrange your internet hosting with Hostinger. We’ll stroll by every half right here, and you’ll comply with together with the screenshots beneath.
1. Go to Hostinger.com and click on “Claim Deal” to begin the signup course of.
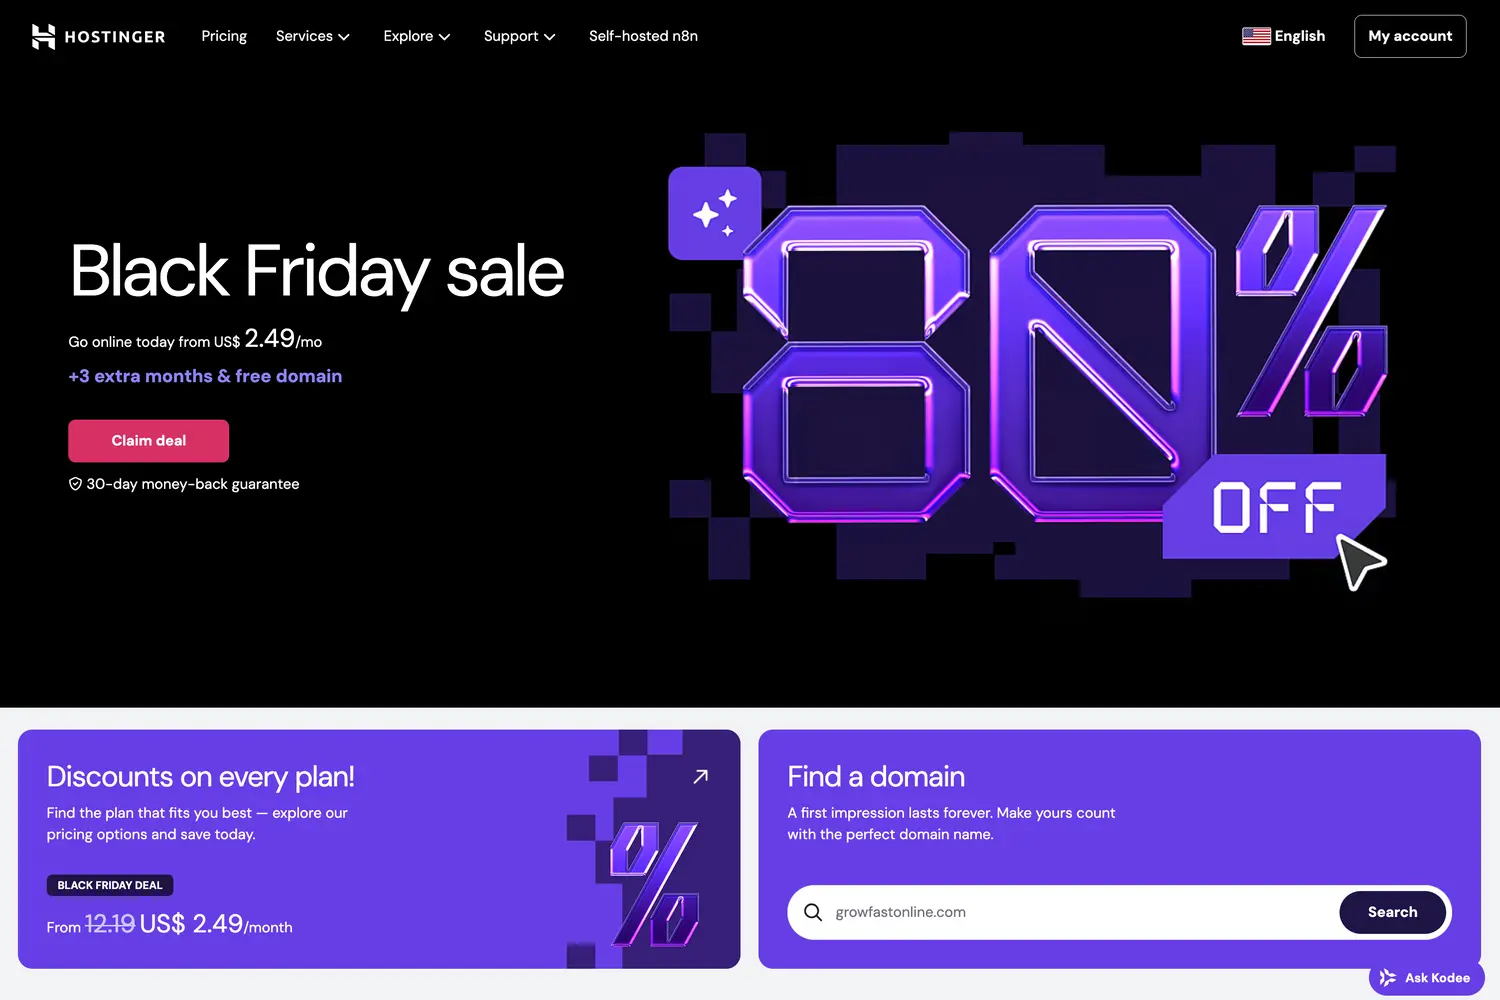
2. Select a plan. We advocate beginning with the Premium plan — it’s reasonably priced and consists of the whole lot you want to get began.

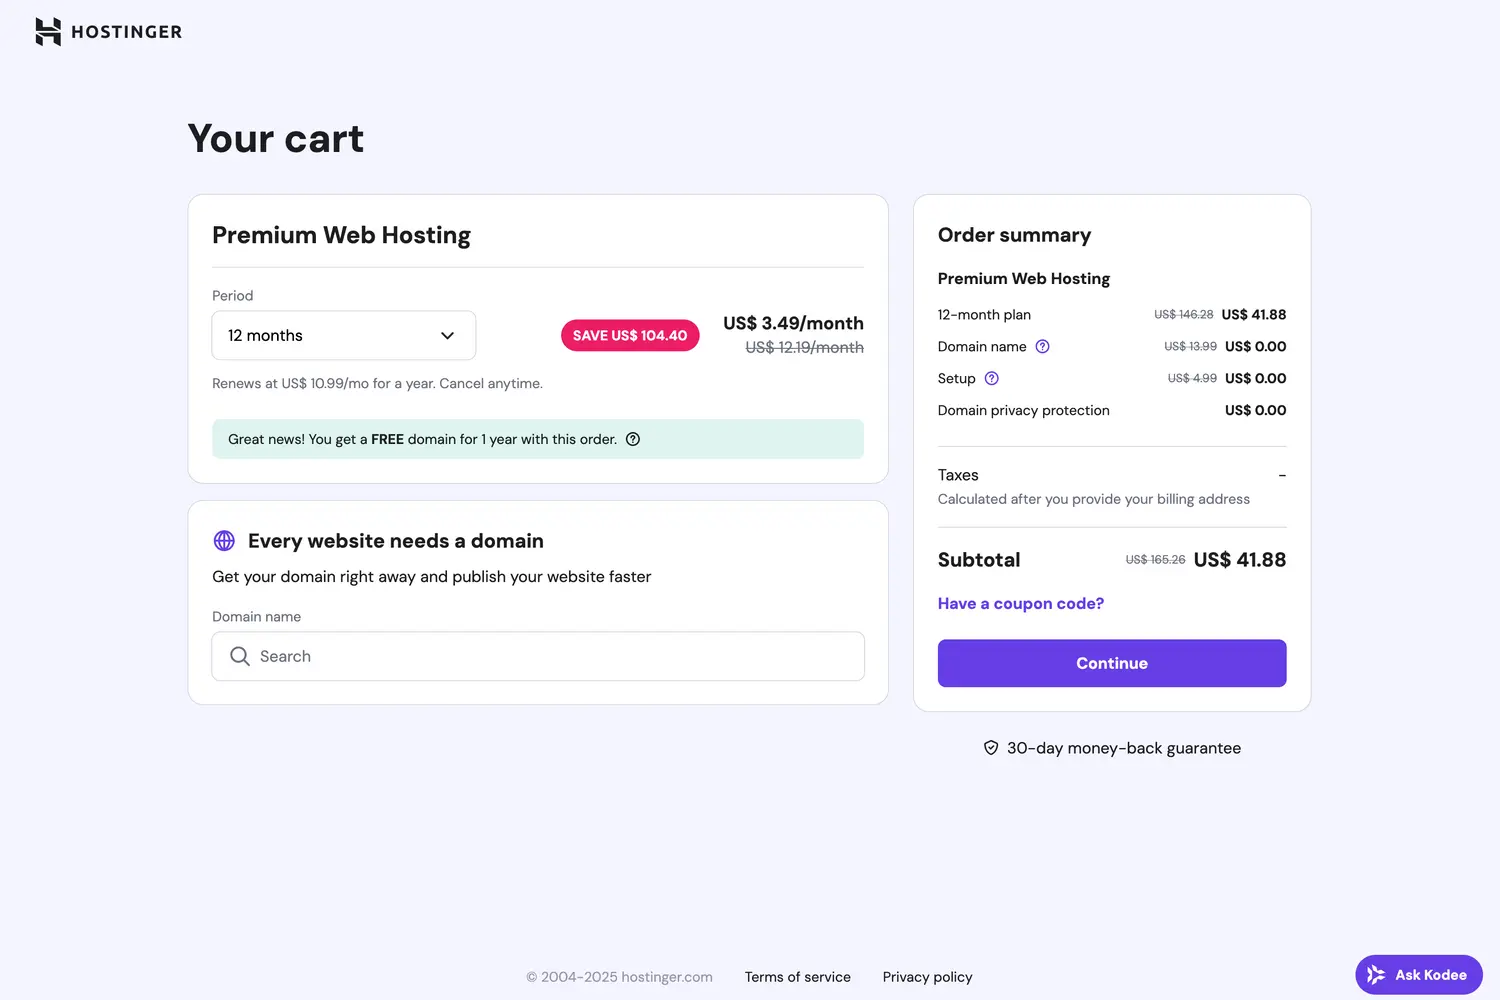
3. Choose your plan period. On the following web page, you’ll have the option to choose how lengthy you need your plan to run (wherever from 1 month to 48 months). The longer the plan, the decrease the month-to-month price.
4. Claim your free area. On this similar web page, you can even declare your free area. If you’ve already registered your area elsewhere (like Namecheap), you’ll have the option to join it later. And if you happen to don’t have a identify picked out but, don’t fear — you’ll be able to skip this step for now and declare your free area later out of your Hostinger dashboard. Once the whole lot appears to be like good, click on “Continue”.
5. Create your account. Use an e mail handle you test repeatedly — this would be the login you utilize to entry and handle your internet hosting account.

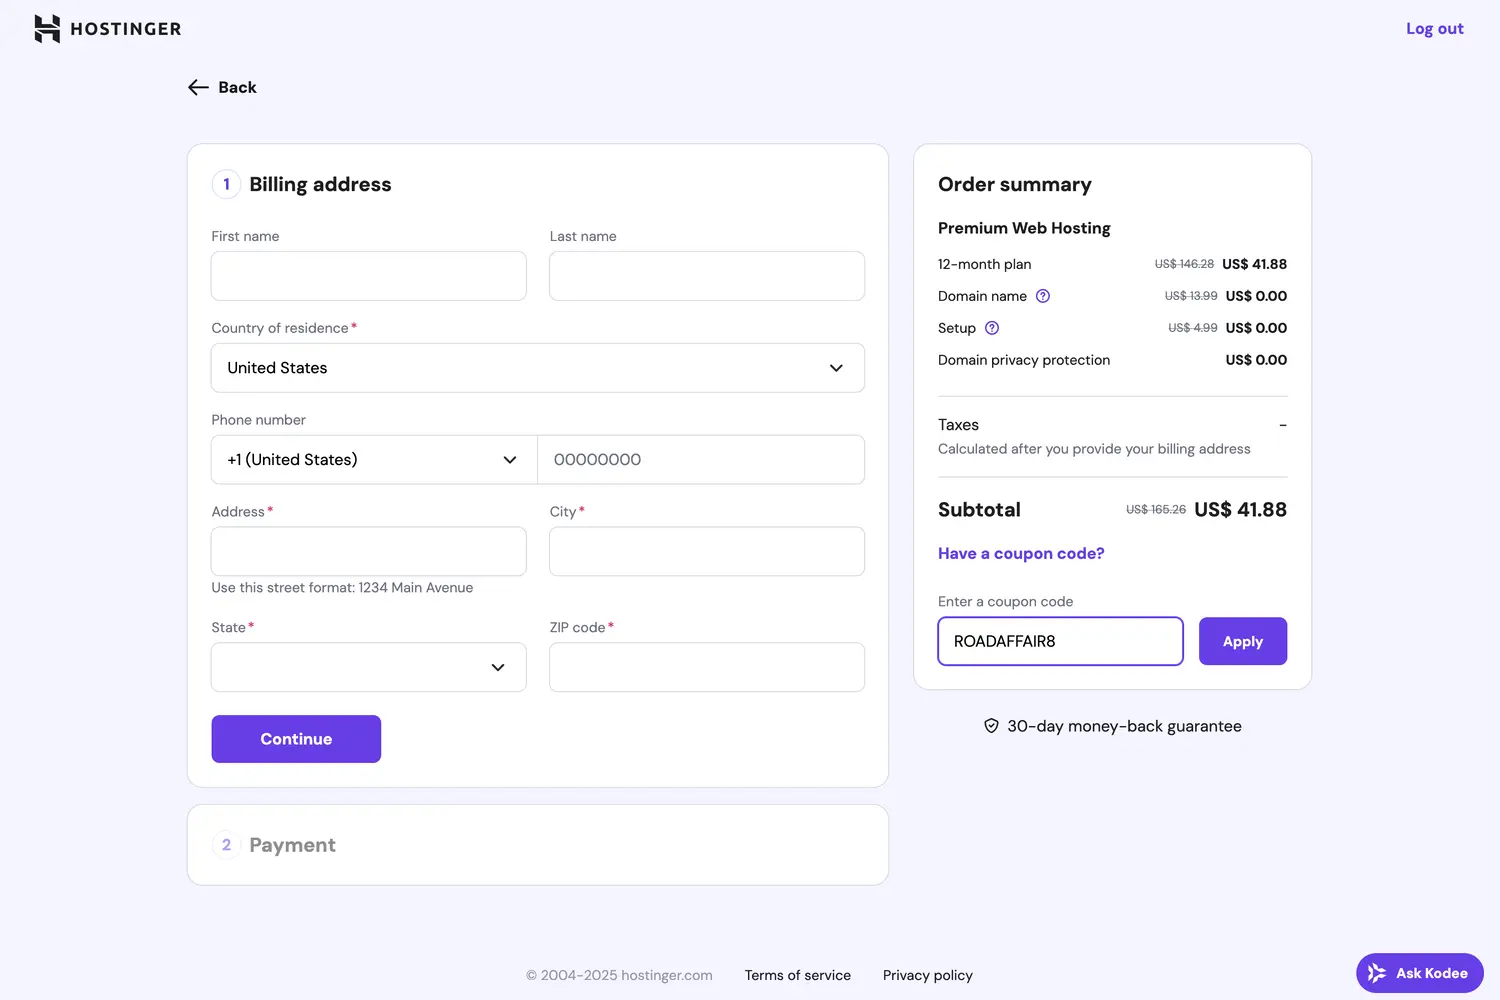
6. Complete your buy. Before you try, click on on “Have a coupon code?” and enter our code ROADAFFAIR8 for a further 8% off your internet hosting plan.
That’s it — your internet hosting account is prepared! Once your cost is processed, you’ll have the option to log in to your Hostinger dashboard, the place you’ll be able to handle your web site, area, and settings all in one place.
Step 4: Install WordPress
With your internet hosting in place, the following step is to really construct your weblog. For that, we’ll use WordPress, the world’s hottest running a blog platform.
WordPress is what turns your empty internet hosting area into a purposeful web site. It’s the place you’ll write your posts, add images, design your pages, and handle the whole lot behind the scenes.
If you’ve by no means constructed a web site earlier than — don’t fear. WordPress is newbie-pleasant, and Hostinger makes the setup course of easy with their one-click on installer.
Why WordPress?
There are many running a blog platforms on the market, however if you happen to’re severe about rising your weblog and ultimately incomes an earnings, WordPress.org is your best option. It’s what {most professional} bloggers use as a result of:
- It’s simple to use. You don’t want to know any code to create a skilled-wanting weblog.
- It’s versatile. You can customise your web site with 1000’s of free and paid themes and plugins.
- It’s constructed for running a blog. WordPress was made for writers and content material creators, so the whole lot revolves round publishing posts and pages.
- It scales as you develop. Whether you’re simply beginning or getting tens of millions of tourists, WordPress can deal with it.
Important: Avoid complicated it with WordPress.com, which is a hosted model with restrictions. You need WordPress.org, the self-hosted choice that provides you full management.
How to Install WordPress on Hostinger
Follow these steps to set up WordPress in your new internet hosting account.
1. After cost, Hostinger routinely redirects you to the web site creation web page (with the query “Who is this website for?”). Select Myself or my enterprise.
If Hostinger didn’t redirect you, simply log in to your account and go to Websites → Add Website to begin the method manually.

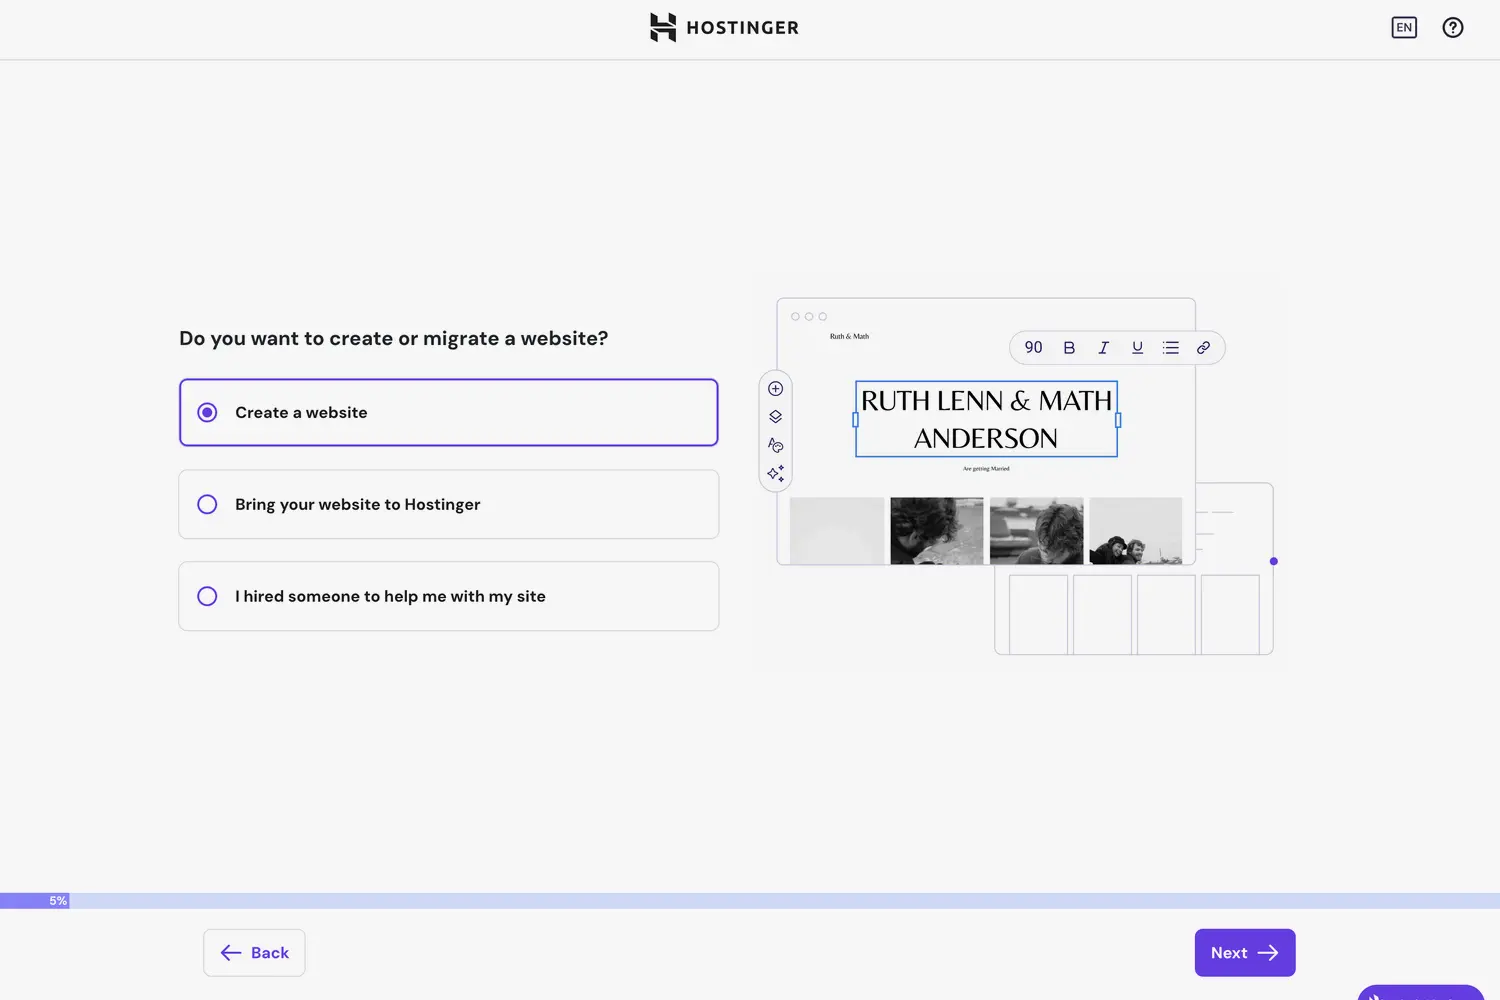
2. Next, it should ask if you would like to create or migrate a web site. Select Create a web site.
3. Then select the way you need to construct your web site. Select WordPress.

4. Enter your WordPress login particulars — your e mail handle and a robust password. You’ll use this info later to log in to your weblog’s admin space.

5. When requested to “Choose a pre-built website,” don’t choose one. Instead, click on Create clean web site. We’ll discuss putting in themes later.

6. Next, it should immediate you to set up plugins. Click Do not set up plugins. We’ll cowl that in the following part.

7. Select the area you need to set up WordPress on. If you skipped claiming your free area earlier, you’ll be able to join it now or set up WordPress on a short-term area for testing.

8. When requested the place your audience is situated, select the situation closest to you (until you’re creating a vacation spot-particular weblog). You can at all times change this later.

9. Click Next and await the set up to full. It normally takes lower than a minute.

When the method is finished, Hostinger will present you a affirmation web page along with your new WordPress login hyperlink (it’ll look one thing like yourblogname.com/wp-admin). Bookmark this web page — it’s the place you’ll log in each time you need to work in your web site.
Step 5: Set Up Your Blog
With WordPress put in and your internet hosting prepared, it’s time to get your weblog absolutely arrange. This step covers the whole lot you want to get your web site working easily — from understanding the dashboard and updating your primary settings to selecting a theme, putting in important plugins, and creating your core pages.
Think of this as laying the muse: as soon as these items are in place, your weblog will probably be prepared for writing, publishing, and sharing your journey adventures with the world.
Get to Know the WordPress Dashboard
When you log in to WordPress (yourblogname.com/wp-admin), you’ll see the dashboard — that is your weblog’s management heart. It will look one thing like this:

It may look overwhelming at first, however when you perceive what every part does, it’ll all make sense. Here’s a fast tour of the principle menu choices you’ll see on the left-hand aspect:
- Dashboard – Your essential overview display screen. It offers you fast entry to issues like current exercise, web site well being standing, and WordPress information. You’ll additionally discover the Updates web page right here, the place you’ll be able to preserve your WordPress model, themes, and plugins up to date — one thing that’s vital for safety and efficiency.
- Posts – This is the place you’ll create, edit, and manage your weblog articles. You may also handle Categories and Tags right here to preserve your content material organized.
- Media – A library the place all of your uploaded photographs, movies, and paperwork are saved. You’ll be utilizing this a lot as a journey blogger to handle your images.
- Pages – Used for static pages like About, Contact, or Privacy Policy — mainly, the elements of your web site that don’t change usually.
- Comments – This is the place you’ll be able to learn, approve, reply to, or delete feedback out of your readers.
- Appearance – The enjoyable half! This is the place you’ll select and customise your Theme, handle Widgets, and create Menus.
- Plugins – Here you’ll be able to set up, activate, or take away plugins to add new options and performance to your weblog.
- Users – Manage who has entry to your web site. If it’s simply you and your co-author, you’ll each have accounts right here. You may also add visitor writers in a while.
- Tools – Provides a few helpful choices for importing or exporting content material, in addition to entry to some plugin utilities.
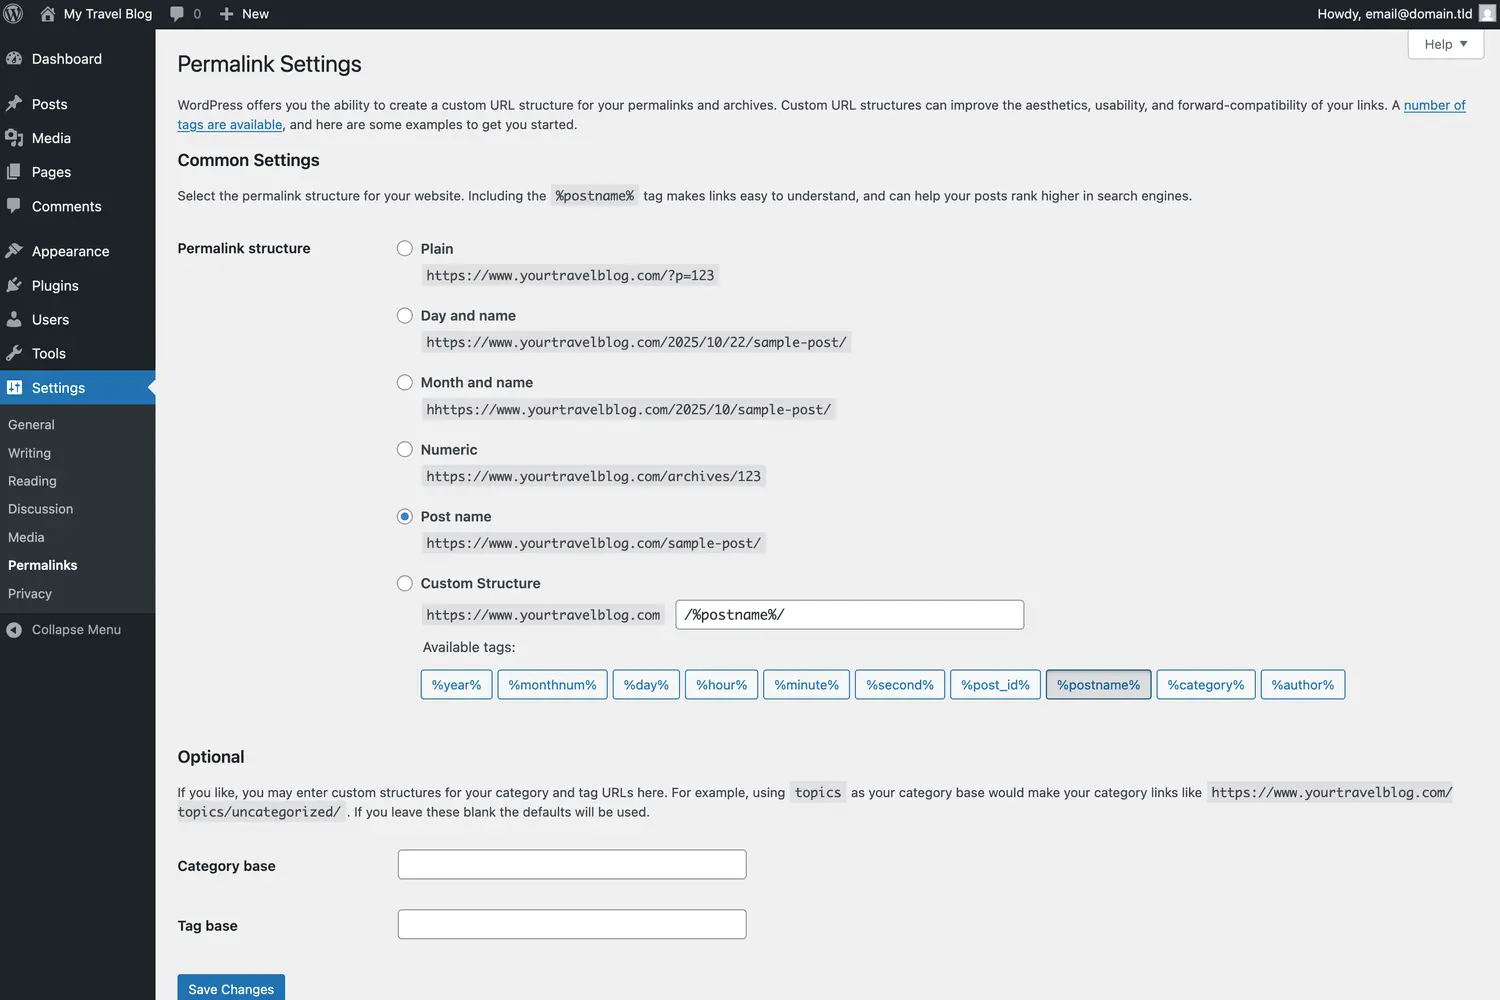
- Settings – This part controls your common web site choices like Site Title, Timezone, and Permalinks (which have an effect on how your weblog URLs look).
Spend a couple of minutes exploring these menus and clicking round — you received’t break something by wanting! The extra acquainted you’re with this dashboard, the better the whole lot else will really feel later.
Update Your Basic Settings
Before publishing something, replace a few key settings:
1. Go to Settings → General and ensure your Site Title and Tagline mirror your model.
2. Set your Timezone to match the place you’re based mostly (vital for scheduling posts).

3. Go to Settings → Permalinks and choose “Post name.” This makes your weblog URLs clear and website positioning-pleasant (for instance, yourblogname.com/greatest-places-in-paris).
Install Your Theme
Now that you simply’ve up to date your primary settings and your WordPress web site is prepared to go, it’s time to give your journey weblog a appear and feel. WordPress themes management the design of your web site — the whole lot from the format and colours to the fonts and navigation.
You don’t want to fear about creating a excellent design proper now. The purpose is just to select a clear, light-weight theme that appears good and will probably be simple to customise later as your weblog grows.
To set up a theme, go to Appearance → Themes in your WordPress dashboard and click on Add Theme on the high of the web page. You can use the search bar to browse free themes instantly from the WordPress library.

We advocate beginning with one thing easy and versatile like Astra, Kadence, or GeneratePress — all three are free, newbie-pleasant, and optimized for pace, which helps your web site load quicker (a massive plus for website positioning).
Once you discover a theme you want, click on Install, then Activate. Your new theme will routinely apply throughout your web site, and you’ll preview the way it appears to be like by visiting your homepage.
It’s additionally completely nice to preserve the usual Twenty Twenty theme that comes preinstalled with WordPress — it’s clear, responsive, and works properly for many inexperienced persons.
Install Essentials Plugins
Plugins are what make WordPress so highly effective. Think of them like apps on your web site — they allow you to add new options and performance with out touching any code. Whether it’s bettering your website positioning, dashing up your web site, or conserving your weblog safe, there’s a plugin for nearly the whole lot.
To Install a plugin go to Plugins → Add Plugin. In the search bar, sort the identify of the plugin you need, then click on Install Now and Activate as soon as it finishes putting in.

While there are literally thousands of plugins obtainable, you actually solely want a few to get began. Installing too many can decelerate your web site, so it’s greatest to concentrate on the necessities first.
Here are the important thing plugins we advocate for a new journey weblog:
- Akismet Anti-Spam – Helps shield your weblog from spam feedback, which may rapidly pile up as soon as your web site begins getting guests.
- Yoast SEO – One of the most well-liked website positioning plugins on the market. It helps you optimize your posts for search engines like google, select focus key phrases, and preview how your posts will look in Google outcomes.
- UpdraftPlus – Automatically backs up your web site to a protected location like Google Drive or Dropbox. If something ever goes mistaken, you’ll have the option to restore your web site with simply a few clicks.
- Wordfence Security – Adds a firewall and malware scanner to preserve your web site protected from hackers. It’s one of the trusted safety plugins for WordPress.
- WP Super Cache – Speeds up your web site by creating static variations of your pages. Faster websites rank higher in Google and preserve readers round longer.
Create a Few Core Pages
Now that your important plugins are put in and your web site is safe, it’s time to add the primary constructing blocks of your journey weblog — your core pages.
Before you begin publishing posts, having these key pages in place makes your web site look extra skilled and helps guests perceive who you’re and what your weblog is about.
To create a new web page, go to Pages → Add New, give it a title, and begin including content material utilizing the WordPress block editor. You don’t have to make these pages excellent immediately — you’ll be able to at all times come again and edit them later.
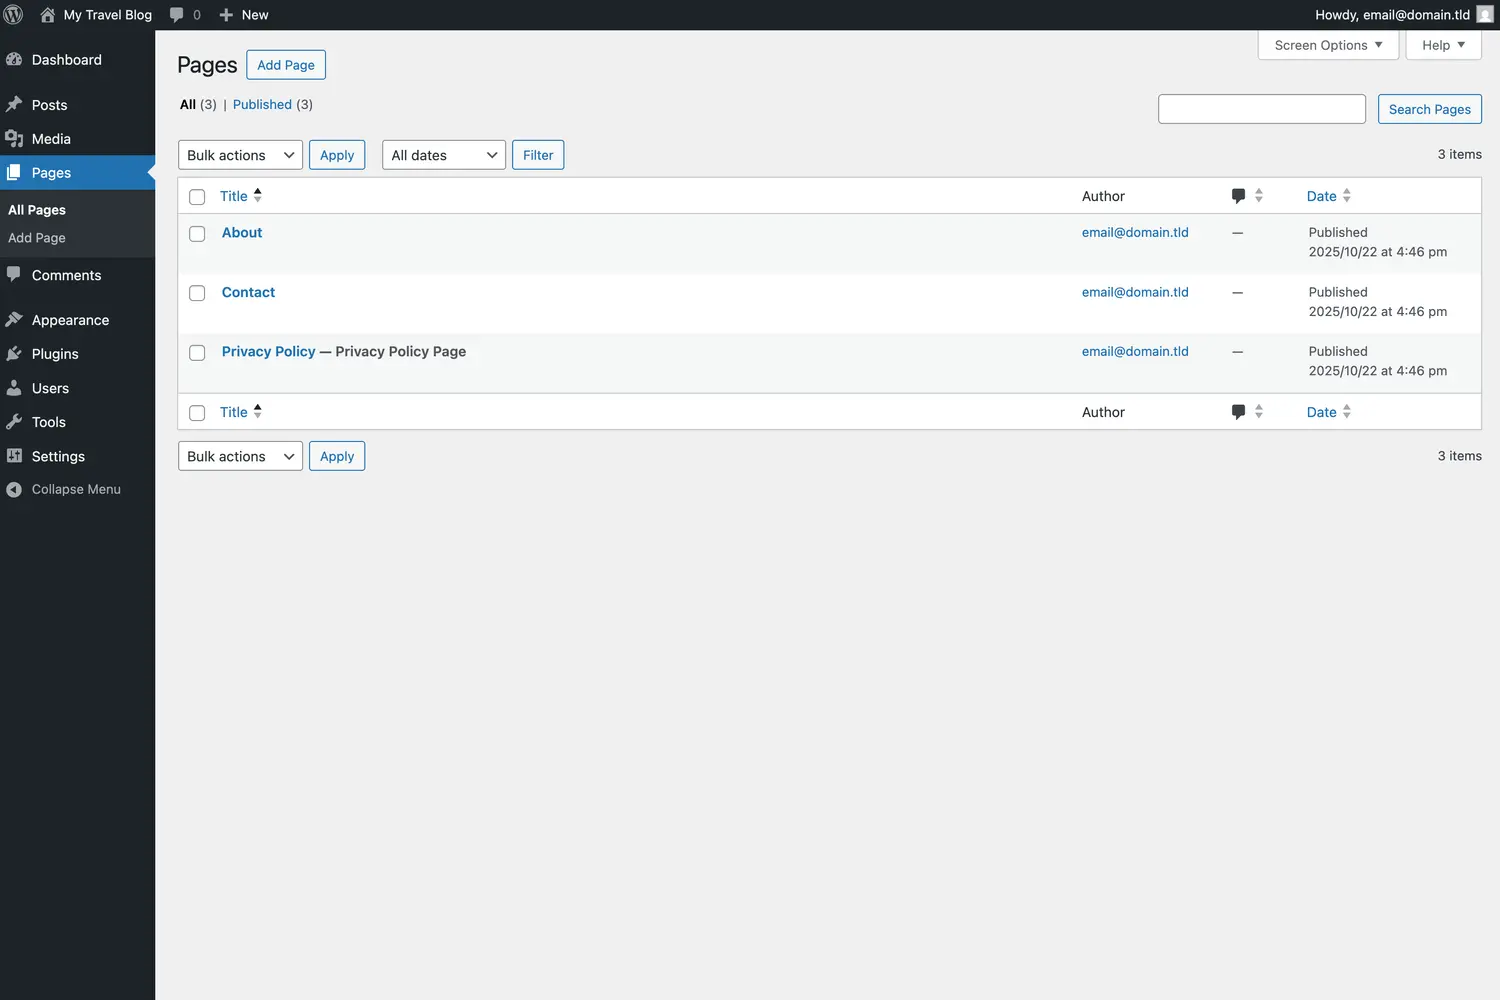
Here are crucial pages to begin with:
- About Page – This is without doubt one of the most visited pages on any weblog. Use it to introduce yourselves, clarify why you began the weblog, and share what readers can anticipate. A little persona goes a good distance right here — individuals comply with blogs as a result of they join with the individuals behind them.
- Contact Page – Make it simple for readers, manufacturers, and tourism boards to attain you. You can use the WP Forms plugin to add a easy contact type as an alternative of itemizing your e mail publicly.
- Privacy Policy Page – This won’t be essentially the most thrilling web page, however it’s important if you happen to plan to become profitable out of your weblog (by adverts, associates, or sponsorships). WordPress routinely creates this web page for you; all you want to do is edit and publish it.
Step 6: Create Your First Travel Blog Posts
With your web site arrange and looking out nice, it’s lastly time for the enjoyable half — writing your first journey weblog posts. This is the place your voice, experiences, and tales deliver your weblog to life.
In your WordPress dashboard, go to Posts → Add New. This will open the publish editor, the place you’ll be able to write, add images, and format your article. You’ll see areas on your title, content material, classes, tags, and featured picture.

What to Write First
It’s tempting to bounce straight into detailed vacation spot guides or journey suggestions, however earlier than you do, it’s a good concept to introduce your self to your readers. A few good first publish concepts embrace:
- Your story: How you began touring and what impressed you to create your weblog.
- What your weblog is about: Explain what sort of content material readers can anticipate (solo journey, finances journey, highway journeys, and so on.).
- Recent adventures: Share a favourite journey, a humorous journey mishap, or a vacation spot that left an impression on you.
Don’t overthink your first publish. The most vital factor is to begin writing. Your model, tone, and area of interest will develop naturally over time.
Structuring Your Post
To make your posts simple and pleasant to learn, preserve them easy and arranged. A good weblog publish construction normally consists of:
- A catchy introduction – Hook readers immediately with a private story or a robust opening line.
- The essential content material – Break your story or information into clear sections utilizing subheadings. Add related images to make it extra partaking.
- A conclusion – Wrap up with key takeaways or a name to motion (like inviting readers to remark or comply with you on social media).
Add Photos and a Featured Image
Travel blogs are visible by nature — your images are what draw readers in. To add photographs, click on the + icon in the editor and choose Image, then add out of your laptop or the Media Library.
Don’t overlook to set a Featured Image in the appropriate-hand sidebar — that is the picture that seems in your homepage and social media previews.
Before You Hit Publish
Before publishing your publish, preview it by clicking Preview on the high proper. Check for:
- Typos or formatting points
- Readable paragraphs (break up lengthy blocks of textual content)
- Properly sized and aligned photographs
- website positioning fundamentals (if you happen to’re utilizing a plugin like Yoast website positioning, be sure that your title and outline look good)
When the whole lot appears to be like proper, click on Publish — congratulations, your journey weblog is formally reside!
Step 7: Build Your Audience
You’ve acquired your journey weblog up and working, and your first posts are out in the world — now it’s time to begin rising your viewers. In the early days, it could really feel such as you’re writing into the void, however don’t fear — each blogger begins there. Building an viewers takes time, consistency, and a little bit of technique. The excellent news? You don’t want to be a advertising and marketing professional to get seen.
Share Your Blog on Social Media
Start with the platforms you already use and revel in — whether or not that’s Instagram, Pinterest, Facebook, or TikTook. You don’t want to be all over the place directly. Pick one or two that make sense on your area of interest and concentrate on posting constantly.
- Instagram: Great for storytelling by visuals — share images, brief journey suggestions, or behind-the-scenes moments.
- Pinterest: Perfect for driving site visitors to weblog posts, particularly if you happen to create journey guides or itineraries.
- Facebook: Ideal for connecting with journey teams and sharing new weblog posts.
- TikTook: A rising platform for journey inspiration — brief clips about locations or journey hacks can go viral quick.
Engage With Other Travelers and Bloggers
One of the quickest methods to develop is to join with others. Comment on different journey blogs, be a part of Facebook teams for journey creators, and share others’ content material while you genuinely take pleasure in it. Building actual relationships in the journey neighborhood will enable you to study, collaborate, and get your weblog in entrance of recent readers.
Start an Email List Early
Even in case your viewers is small, begin accumulating e mail addresses from day one. Social media algorithms change on a regular basis, however an e mail checklist is one thing you personal.
You can use free instruments like MailerLite or ConvertKit to create easy opt-in varieties. Offer one thing of worth in trade for signal-ups — for instance, a free packing guidelines, vacation spot information, or e-newsletter with private journey tales and updates.
Be Consistent
You don’t want to publish daily — in reality, you shouldn’t. It’s higher to publish one excessive-high quality publish per week than to rush out a number of brief ones. Set a sensible schedule you’ll be able to stick to, and deal with your weblog like a lengthy-time period venture.
Step 8: Monetize Your Blog
By now, your weblog is up, working, and beginning to entice readers — so let’s discuss how to flip it into an earnings stream.
Making cash from a journey weblog doesn’t occur in a single day, however with consistency and good technique, it’s completely potential. The secret’s to construct belief first — individuals solely purchase from (and thru) blogs they know and worth.
1. Affiliate Marketing
Affiliate advertising and marketing is without doubt one of the best and hottest methods to begin incomes out of your weblog. It works like this: you advocate a services or products you genuinely use and love, embrace a particular monitoring hyperlink, and earn a small fee each time somebody buys by your hyperlink — at no further price to them.
A few examples that work properly for journey blogs:
- Booking.com or Agoda for lodging hyperlinks
- GetYourGuide or Viator for excursions and actions
- Amazon Associates for journey gear and equipment
- SafetyWing or World Nomads for journey insurance coverage
Be clear about affiliate hyperlinks — at all times disclose them. It builds belief and retains you legally compliant.
2. Display Ads
Once you begin getting regular site visitors, you’ll be able to place adverts in your web site. Programs like Google AdSense are good for inexperienced persons, whereas extra premium networks like Mediavine or Raptive (previously AdThrive) provide increased payouts as soon as your site visitors grows.
Ads received’t make you wealthy in a single day, however they’ll deliver in passive earnings that grows alongside your readership.
3. Sponsored Posts and Brand Partnerships
When your weblog and social media presence begin to acquire traction, manufacturers might attain out for collaborations — or you’ll be able to pitch them instantly. Sponsored content material can embrace product critiques, vacation spot options, or social media campaigns.
The secret’s to solely work with firms you really imagine in. Readers can inform when a suggestion isn’t real, and conserving your integrity is way extra helpful lengthy-time period.
4. Sell Your Own Products or Services
As your weblog grows, you may department out into creating your personal earnings streams. A few frequent choices embrace:
- Digital merchandise – eBooks, journey guides, or itineraries
- Courses or workshops – Teach journey pictures, running a blog, or how to plan finances journeys
- Freelance companies – Offer writing, pictures, or social media administration
Your weblog acts as your portfolio — individuals already studying your content material are your warmest leads.
Monetizing a weblog is a marathon, not a dash. Focus first on constructing belief and offering worth. Once your weblog has regular site visitors and dependable readers, earnings alternatives will come naturally.
Your Journey Begins Here
Starting a journey weblog may really feel overwhelming at first — there’s a lot to study, from choosing a identify to organising WordPress to determining website positioning. But keep in mind, each profitable blogger began proper the place you are actually: with an concept, a story, and a clean web page.
The fantastic thing about journey running a blog is that it grows with you. The extra you write, discover, and experiment, the extra assured you’ll change into — each as a traveler and a creator. Some posts will take off, others received’t, and that’s completely regular. What issues is that you simply preserve displaying up, sharing your experiences, and bettering a little with each article you publish.
Give your self time. Focus on creating useful, sincere content material and connecting along with your readers. The site visitors, partnerships, and earnings will comply with.
If you’ve adopted all of the steps in this information, you have already got the whole lot you want to begin your running a blog journey — your web site is reside, your voice is exclusive, and your tales are value telling.
So take a deep breath, open WordPress, and hit “Publish” in your first publish. The journey begins right here.
Source link